El Cajon Mountain Trail: San Diego’s “Toughest” Hike is Waiting for You
Are you looking for a challenging and rewarding hike near San Diego? Look no further than El Cajon Mountain, a.k.a. El Capitan, a popular destination for experienced hikers and outdoor enthusiasts. El Cajon Mountain Trail is located in the El Capitan Open Space Preserve in Lakeside, Ca. Encompassing 2619 acres of protected space, the preserve has 8 miles of rugged hiking trails, including the 11.25 mile out and back trail leading to the summit. With breathtaking views of the surrounding valleys, mountains, and even the Pacific Ocean on a clear day, this hike will leave a lasting impression.
RELATED: El Cajon Mountain Trail: El Capitan Hike, San Diego
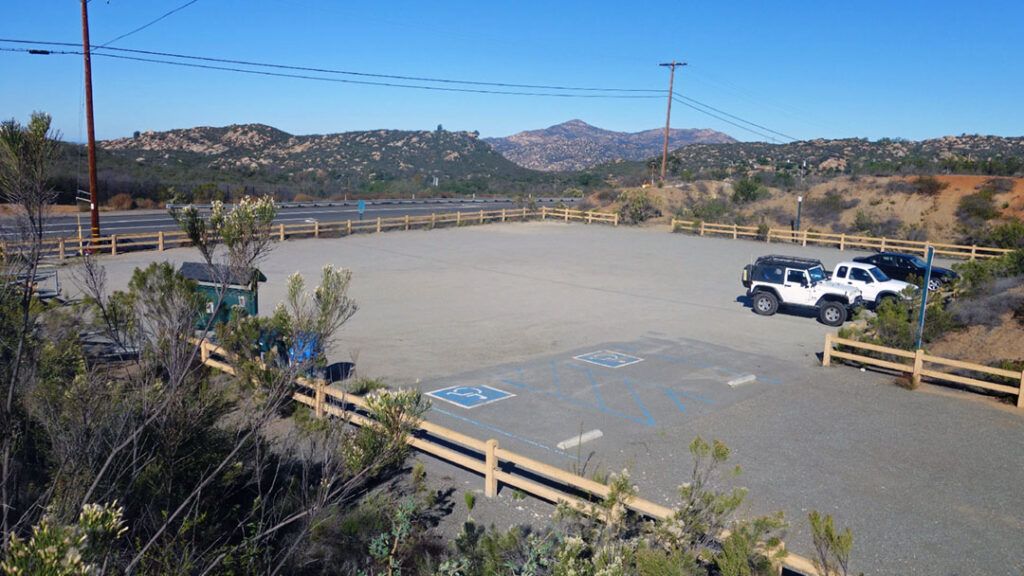
El Cajon Mountain Trailhead to Mile Marker One
The hike begins just outside the trailhead parking lot on the corner of Wildcat Canyon Road and Shenma Road. After a brief walk up Shenma Road, you will arrive at the official trailhead for El Cajon Mountain Trail, where you will find clean restrooms and a couple of picnic tables.
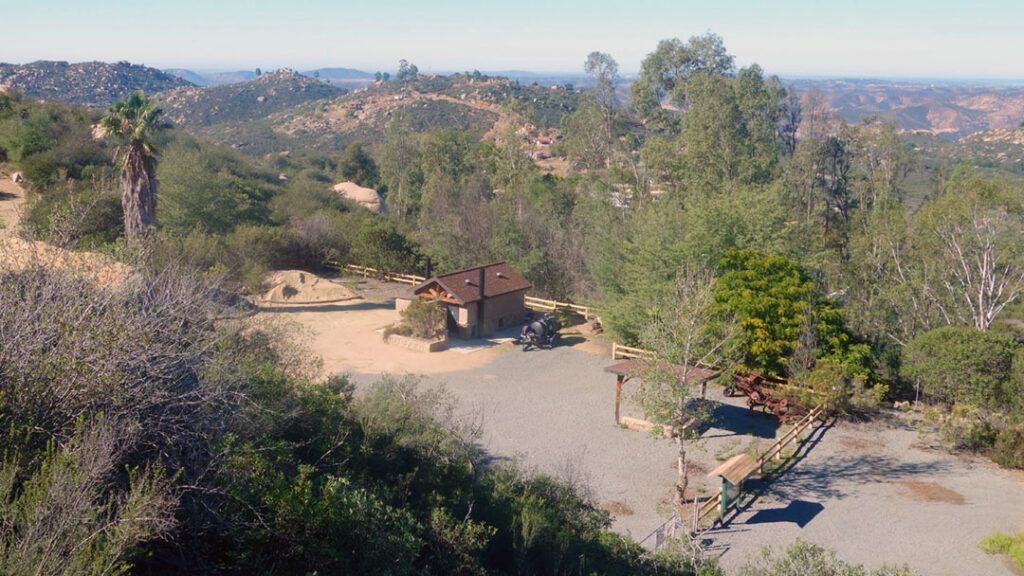
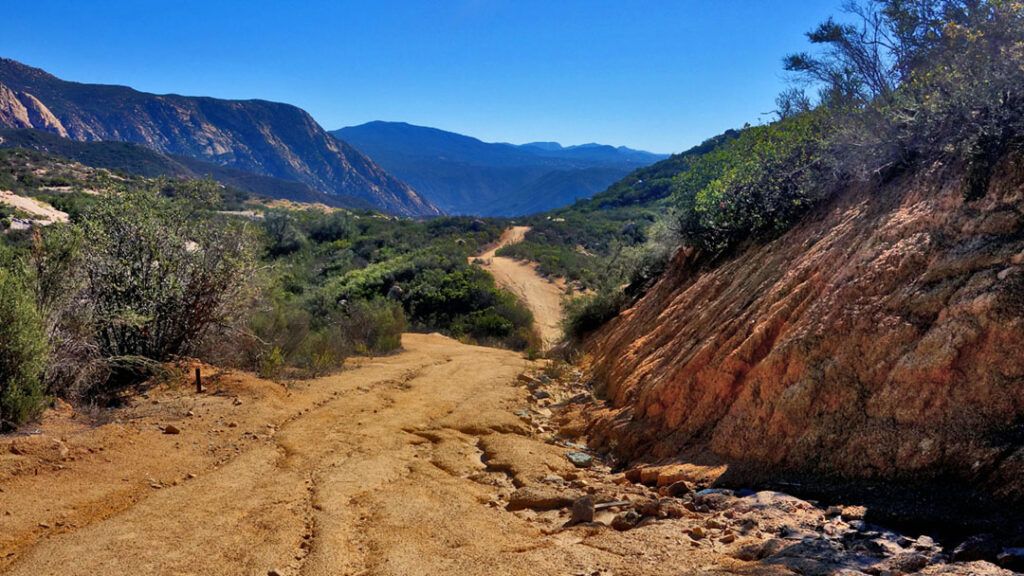
After leaving the trailhead facilities, you will gradually climb through a series of tight switchbacks that wind through a dense forest of manzanita trees, coastal sage scrub, and mixed chaparral. As you climb up the hill, you’ll see the San Vicente Reservoir to the west. This is one of three reservoirs you can see from the trail.
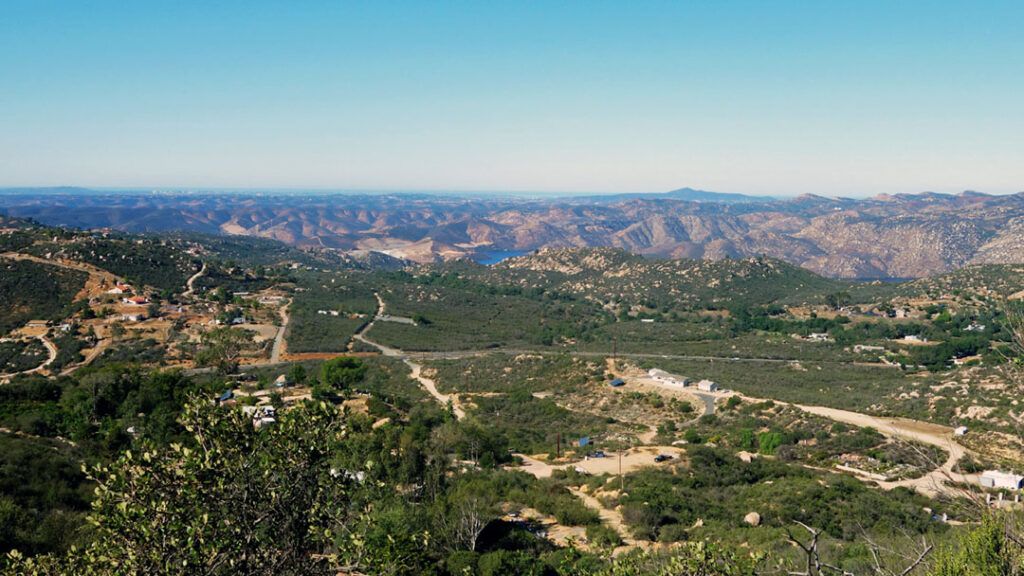
At the top of the hill, the trail opens up to a fire road where the first of several helpful trail markers points the way to El Cajon Peak and El Capitan comes into view. From here, the trail descends quickly along the south edge of the mountain. At this point, you’ll start to understand the challenge of the trek ahead. Every hill you descend, you’ll have to climb back up on the way out.
Mile Marker One to the Halfway Point
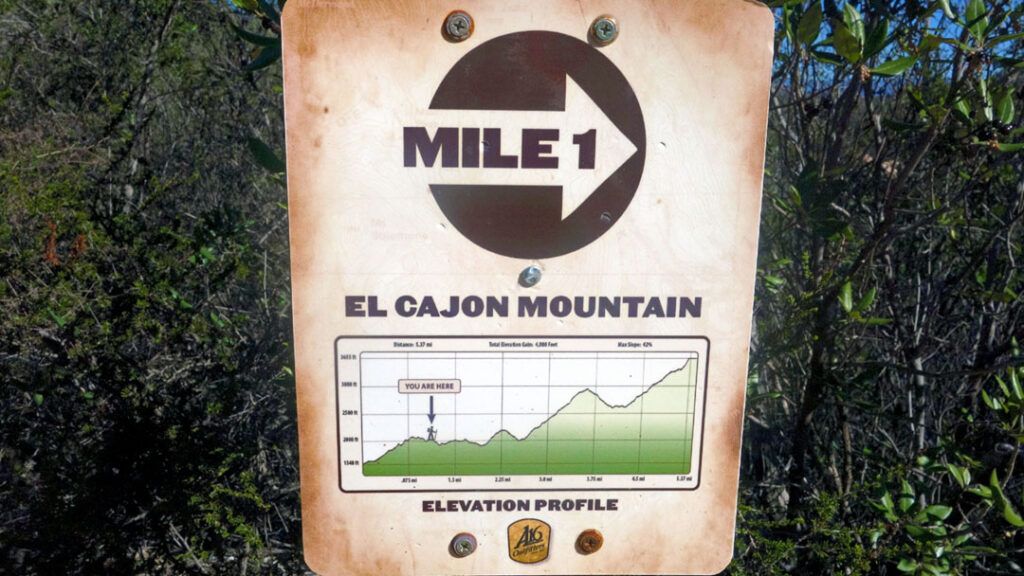
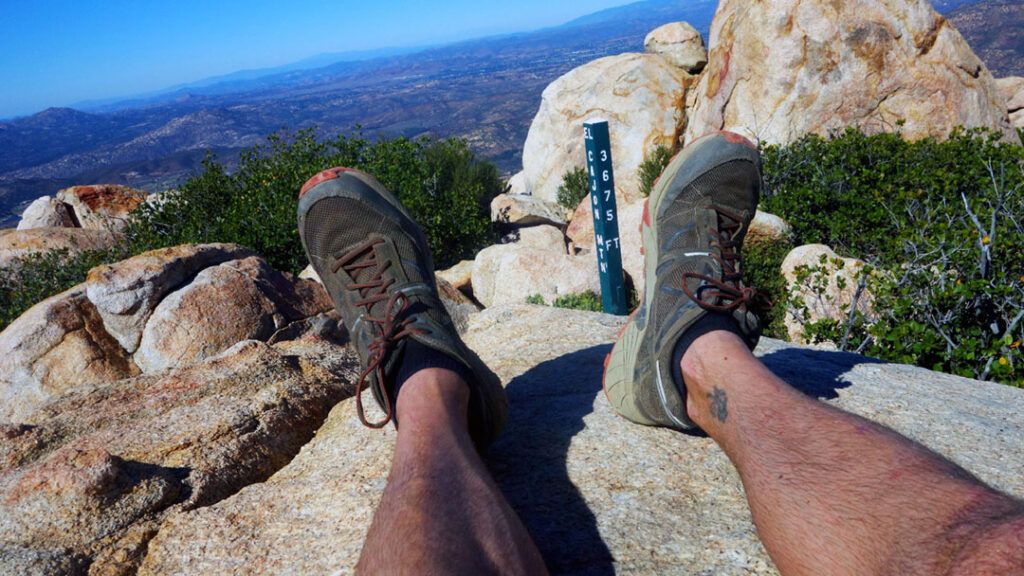
El Cajon Mountain Trail starts at around 1550 feet, climbs to a peak elevation of 3675 feet, and has a total estimated elevation gain of around 4000 feet. You may have noticed that the numbers aren’t adding up. So where does that missing 2125 feet come from? Hills. Steep hills, and lots of them.
The exact difficulty level quickly becomes clear when you reach the trail marker for mile one, which shows you where you are on the trail and what’s to come. So put your game face on and dig in. You still have another 10+ miles of rugged trail ahead of you before returning to the comfort of your car.
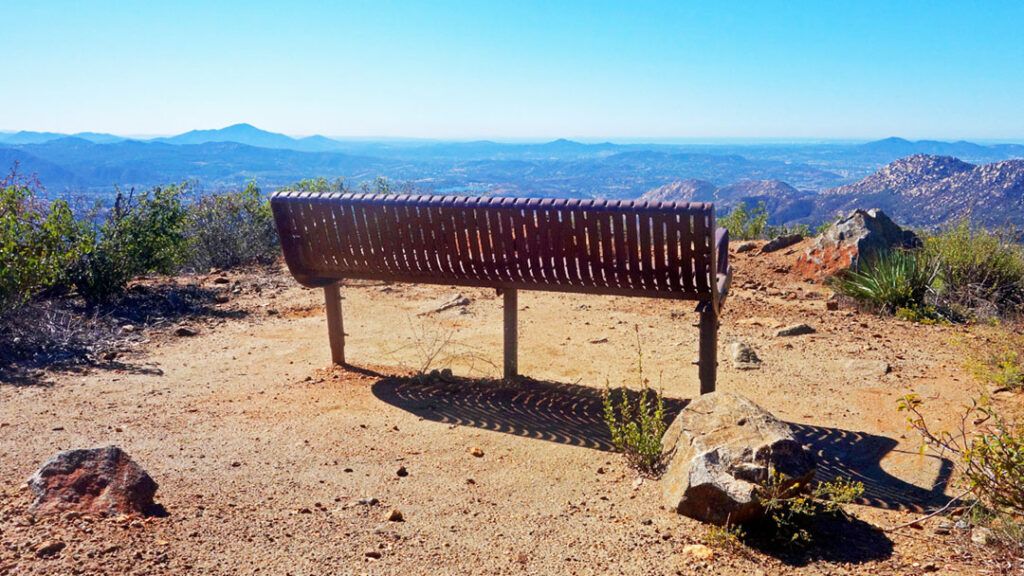
Continue hiking along the trail, ticking off trail markers along the way, stopping occasionally for a break, and to take in the increasingly scenic views. Around the 3-mile mark, you’ll come across a park bench conveniently perched atop a scenic southeast-facing overlook. It’s fully exposed with no shade, but if you’re feeling a bit winded, take advantage of this opportunity to rest.
You’ve just started the toughest part of the hike.
The Halfway Point
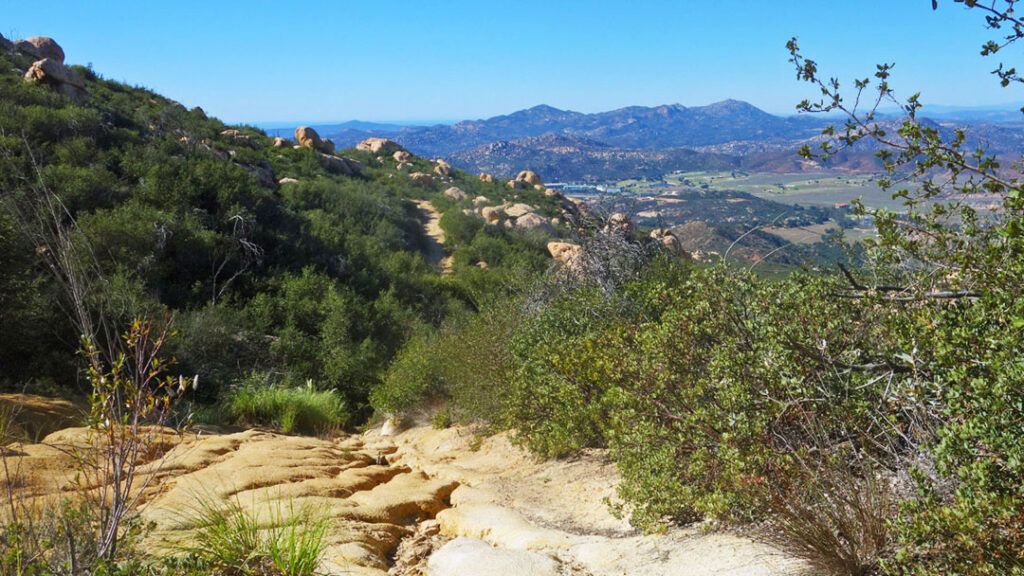
After passing the park bench, the trail works steadily uphill for about three-quarters of a mile, just past the 3.5-mile mark. Take a moment to celebrate your victory. You’re more than halfway to the summit, and you’ve already climbed nearly 1500 vertical feet.
As you round the top of the hill, Barona Valley comes clearly into view directly to the northwest. From this vantage point, Barona Casino looks like a tiny street mall stuck awkwardly in the middle of nowhere. It’s a humbling experience when you consider that the hotel has 400 rooms and 300,000 square feet of gaming space inside.
After a short descent along the mountain’s edge, you’ll start another steady uphill climb toward the summit. Along the way, you’ll pass the rusted-out skeleton of a 4×4 truck that looks like it’s been stranded there since the 50s. I’d love to know the story behind this truck but sadly, I haven’t been able to track down any details.
The truck and its story will have to remain a mystery for now.
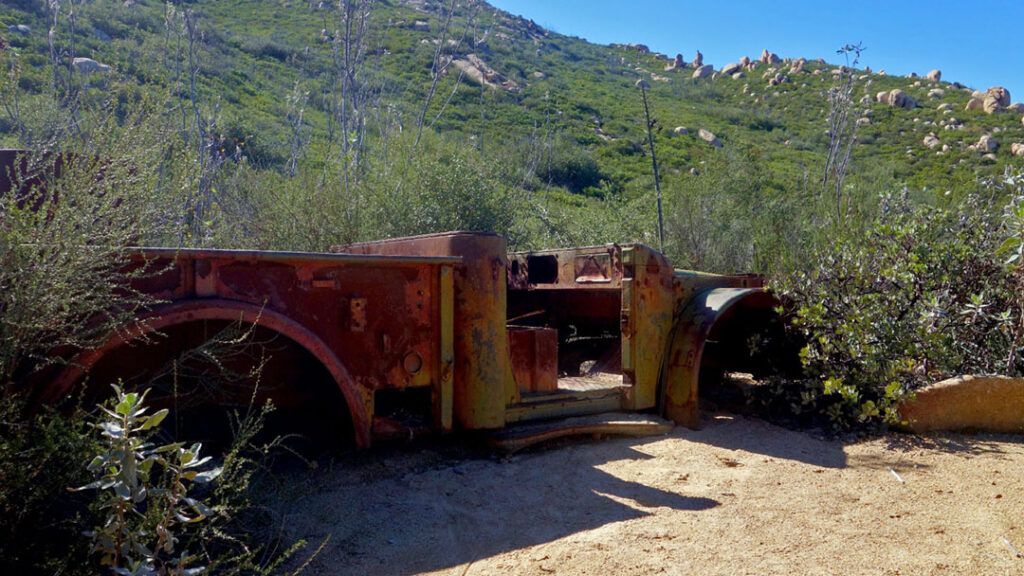
The following mile of the trail is just as technical as the previous one. The terrain is steep, rutted, and full of loose dirt and gravel. To stay safe, wear sturdy trail runners or hiking shoes. Wearing tennis or running shoes could leave you uncertain due to their lack of traction.
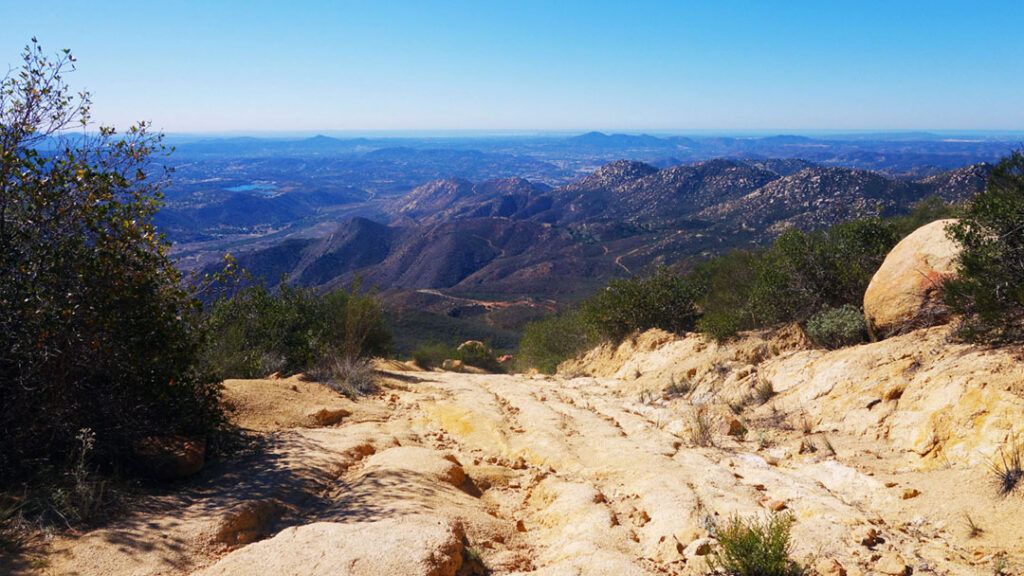
Mile Five: The Final Approach to the Summit of El Cajon Mountain
At the 5-mile mark, the trail splits off in three directions.
I’m not sure where the trail ahead goes. It may lead to the granite face of El Capitan, which is popular with local rock climbers seeking a challenging climb.
To the right is El Capitan Trail. Head that way, and after a brief hike, you’ll arrive at a fenced-in, weather-beaten shack. I don’t know the shack’s history, but it appears to have been a lookout for weather or fires at some point.
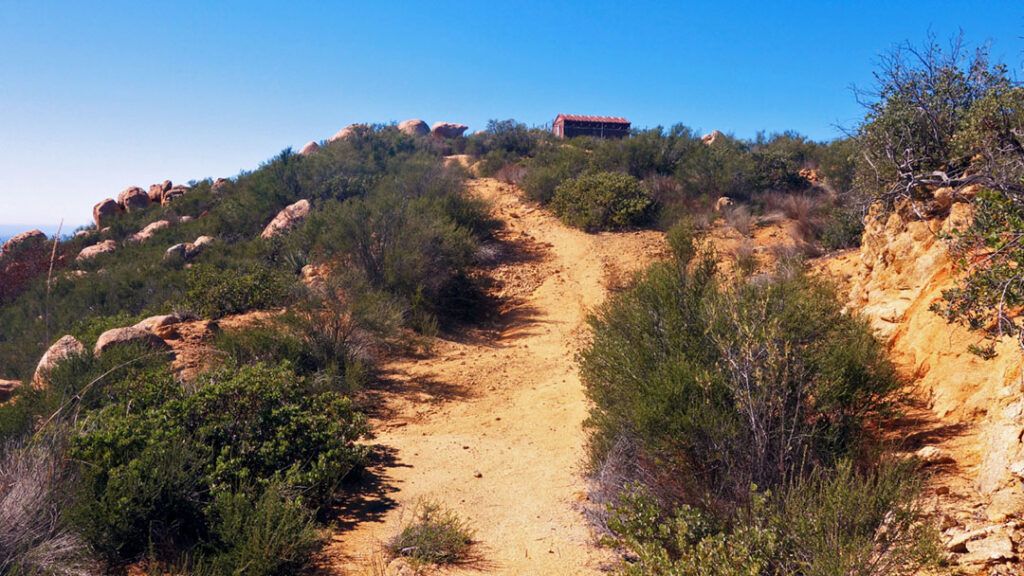
The trail to the left leads to El Cajon Mountain Summit. The hike from here is brief but technical. The wide trail narrows to a series of single-track trails that make their way through the low-lying manzanita trees, shrubs, and boulders that cover the hill. The path to the summit can be a little unclear at times, so people have left cairns (rock piles) on top of some of the larger boulders to assist you in finding your way.
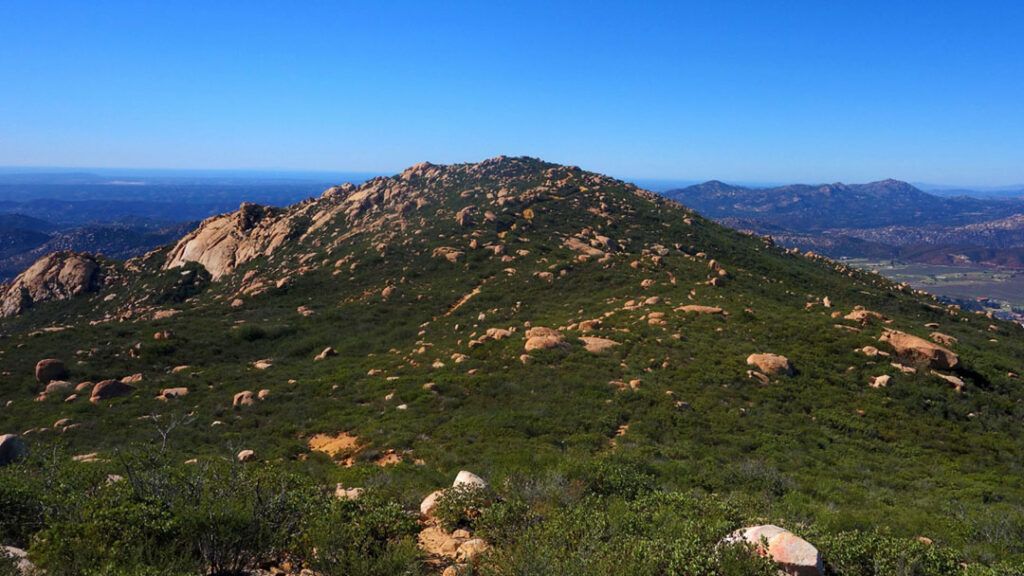
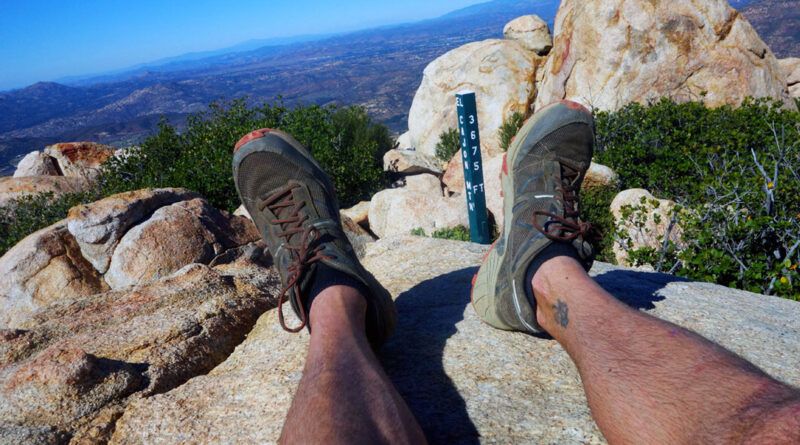
With a little scrambling and dedication, you will eventually arrive at the summit marker. However, you still have the return hike ahead of you, so don’t congratulate yourself yet.
Find a boulder, climb on top, and admire the scenery around. On a clear day, you can see Mexico to the south, Iron Mountain and Mt. Woodson to the southwest, the San Diego River Valley to the north, and the vast expanses and many peaks of Cleveland National Forest to the east.
El Cajon Mountain Hike Retrospective
I love a challenging hike and El Cajon Mountain Trail delivered just that. The distance and elevation gain created a perfect mix of thigh-busting uphill climbs.
The trail kept me constantly challenged and motivated me to push myself. The trail was well maintained, and at the same time rugged and technical. When I found traction on the downhills, I ran them, which gave me a rewarding bump in my hiking time.
I hiked the trail on a Friday morning and was surprised to pass at least eight other hikers doing the same. All but one hiker I passed looked experienced and appropriately equipped with good hiking shoes, clothes, and plenty of water.
I started the hike with three liters of water on a day when the high temperatures were set to reach about 80 degrees. One mile shy of the parking lot, I sucked the last drops of water from my hydration pack. Plan your adventure ahead of time and bring plenty of water. You’re going to need every last ounce.
Beyond the challenging hike, the views from El Cajon Mountain Trail were amazing. There wasn’t a cloud in the sky on the day I hiked it, so I was treated to unobstructed views in all directions. I could even see the Coronado Islands floating in the glistening ocean more than 35 miles away off the coast of Baja California.
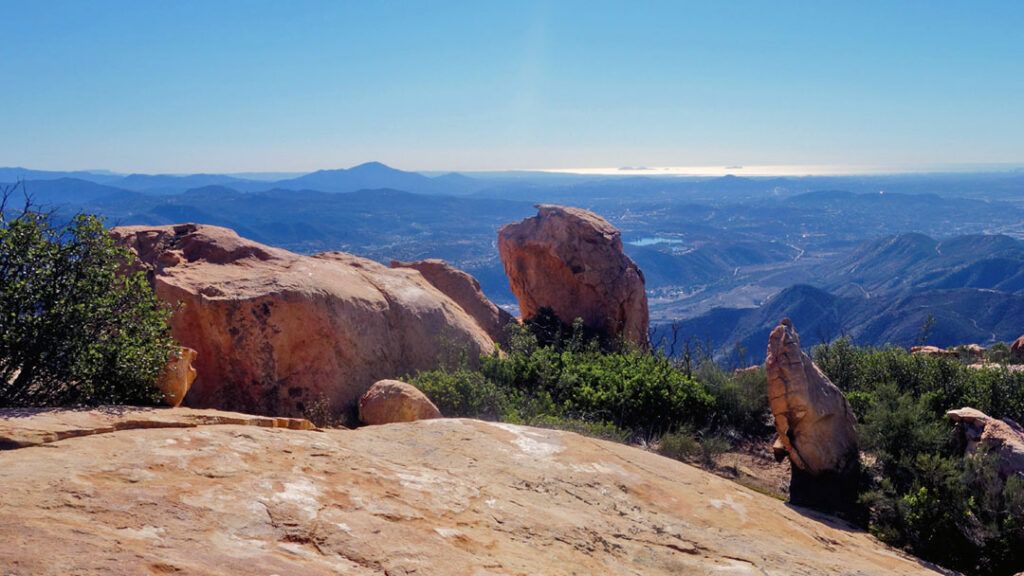
I can only imagine how it might look like at sunrise or sunset. Unfortunately, I’ll have to continue to imagine it because the park is open from 8 am to sunset. So there are no sunrise or sunset views from the summit in the foreseeable future. I’ll have to look elsewhere for that.
And so, the journey continues.
Tips
- Carry at least 3 liters of water for this hike
- Avoid hot days and wear sunscreen, there is very little shade on the trail
- Wear a good pair of hiking shoes or trail runners
- Bring a camera, because the views are amazing
