
How Much Water to Bring on a Hike? How to Stay Properly Hydrated on the Trail.
If you have ever run out of water on a hike, you’re not alone, and you know how scary it can be to face miles or hours without a sip. Hopefully, after reading this article, you’ll never worry again about how much water to bring on a hike.
In December 2014, I set out to hike the California Riding & Hiking Trail in Joshua Tree from Blackrock Canyon to Juniper Flats and back. The 36-mile out-and-back overnight trip would be my first solo backpacking adventure, and my first time hiking in Joshua Tree.
That trip taught me many valuable lessons, including the importance of properly estimating and managing my water consumption on a long hike. Although I didn’t run out of water, I made a series of mistakes that led me to become dangerously dehydrated.
If you’re uncertain about how much water you should carry on a hike or find yourself running dry more often than not, keep reading. This article will help you identify important things to consider before your hike so that you know how much water to bring on a hike.
Understanding How Much Water You Need to Drink While Hiking
To get a good baseline for your pace and water use, start tracking the following every time you go for a hike:
- Total distance hiked
- Total time to complete the hike
- Amount of water you drank
- How you felt at the end of the hike
The longer you track this information, the closer you’ll be to knowing how much water you should bring on future hikes. After loosely tracking my hikes for the past several years, I’ve found that I drink about ½ liter of water per hour of hiking on average. Now, when I plan a hike, I estimate the number of hours it will take me to complete, divide that by two, and that’s the number of liters of water I carry. So a four-hour hike, I will bring at least two liters of water.
Everyone is different, so tracking your hikes is the best way to estimate your water needs accurately. Also, it’s important to keep in mind that this is only a baseline average to be used for estimating. Other things, like the weather and the difficulty of a particular hike, are also important considerations.
Track Your Hiking Distance and Time
To establish your hiking pace, you should know how far you hiked and how long it took to complete that hike. I track all my hikes either on my phone using an app like Runkeeper or on a GPS device. Any running or fitness app will do as long as it gives accurate results.
Track Your Water Use
At the beginning of every hike, you should know exactly how much water you have with you when you hit the trail. If you stop to refill your water along the way, add that to your total. When the hike is over, note how much water you have left over, if any. With a little simple math, you can figure out how much water you drank, and be better prepared and closer to knowing how much water to bring next time you go for a hike.
Adjust The Water You Carry for Trail and Weather Conditions
Now that you know how much water you will drink on an average hike, it’s time to start thinking about other factors that affect how much water you will need to carry on a particular hike.
In general, you should bring more water if the hike will be:
- More difficult than usual (more sweat, effort, and/or time)
- Hotter than usual
- Drier than usual
Conversely, you may be able to get away with bringing slightly less water if the hike will be:
- Easier than usual
- Cooler than usual
- More humid than usual
It’s important to adjust your water estimates according to the environment. Factors like temperature and humidity affect how much water you need, so always be prepared and bring extra water if you are inexperienced in hiking in a given environment.
When it comes to water, always err on the side of safety.
Refilling Water on Longer Hikes and Backpacking Trips
Plan on refilling your water supply if you won’t be able to carry enough for your hike.
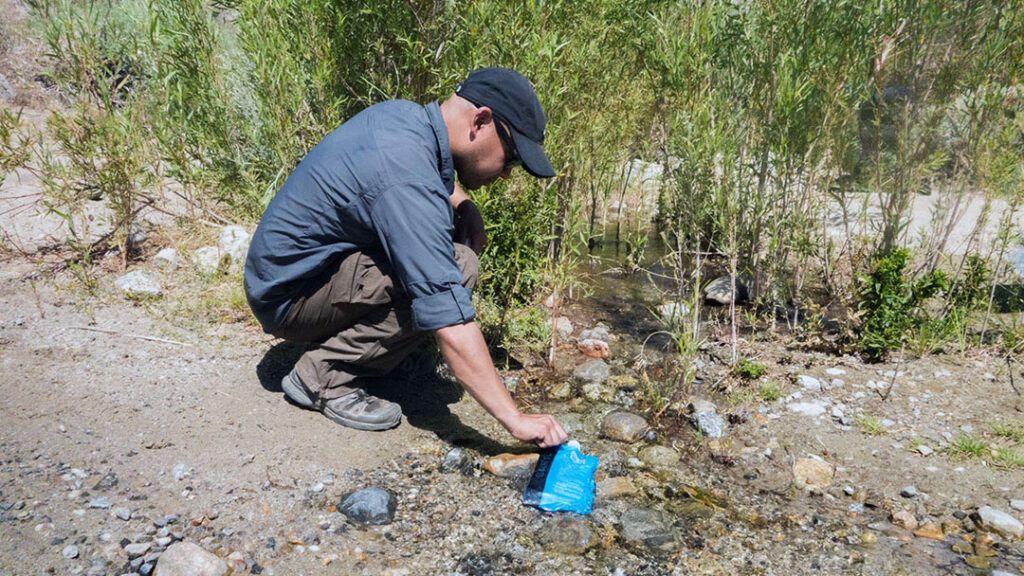
Natural Water Sources
You’ll often be able to refill your water supply using natural water sources in the environment. Lakes, rivers, streams, creeks, and even a small trickle coming from the rocks can all serve as the perfect spot to fill up.
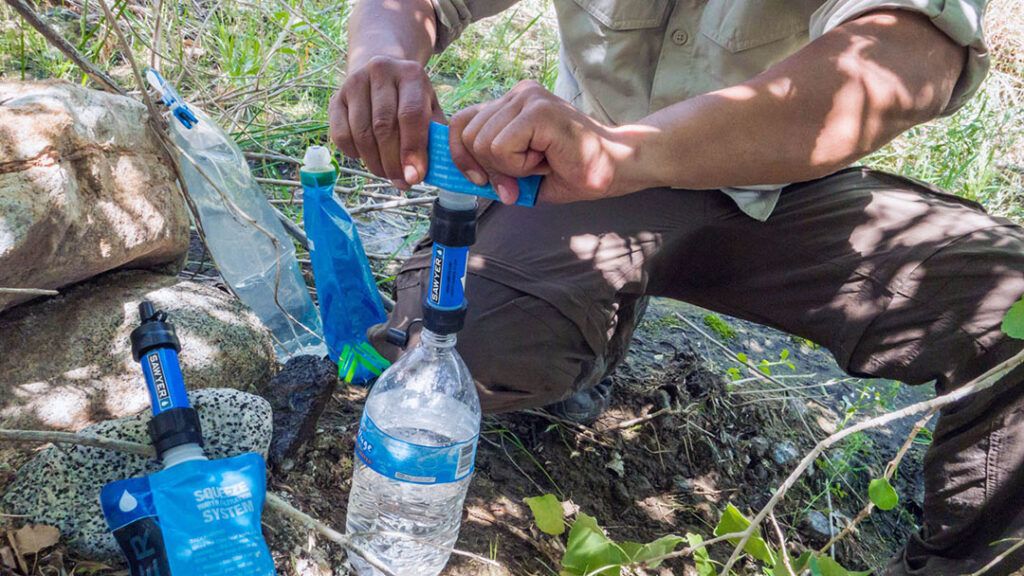
I’m not going to get into filtering or treating water here, REI does a pretty good job of that, as do many others. I will say that it’s always important to know that the water you’re drinking is free of harmful viruses and bacteria before drinking it.
Many major natural water sources can be found by looking at a high-quality topo map. Some may be year-round, while others may be seasonal, so it’s important to know which is which if you’re hiking in the off-season.
It’s a good idea to call the ranger station before your hike to double-check on water sources. Rangers are usually happy to provide current information on water availability to ensure hikers stay safe and hydrated.
Man-made Water Sources
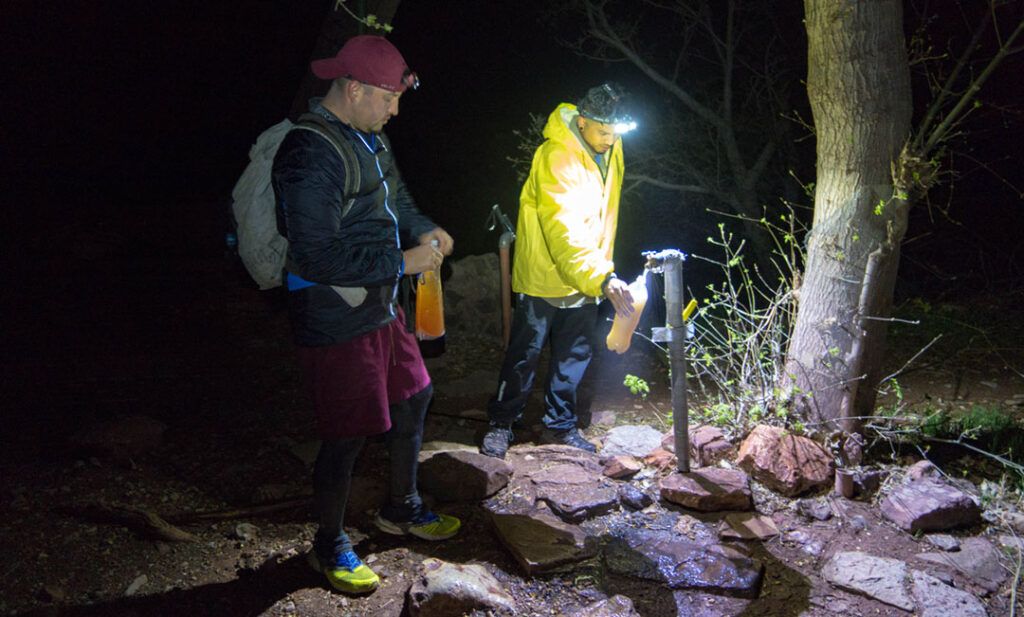
Many parks, such as the Grand Canyon, provide water taps throughout the park near campgrounds and trails. Topo maps and maps from the visitor’s center typically show the location of these water sources.
Just as with your natural sources, it’s always best to check with the ranger station before you set out on your hike to be sure the taps are in working order. Often they will be seasonal and only turned on during peak times of the year. And, just like the pipes in your house, they are subject to leaks, including catastrophic failures, resulting in emergency shut-downs.
Be safe and call ahead.
Water Caching
Some parks permit water caching, which is especially useful in areas like Joshua Tree where water is scarce. Water caching allows you to carry less weight between waypoints and extend your hike as long as you desire. It’s important to note that rules regarding water caching differ between parks, and not all parks allow it, so be sure to call the ranger station beforehand to confirm.
A Few Final Tips
- Load up on water before you leave your car.
- Leave extra water in your car so you have it if you run out on the hike.
- Drink water at your refill stops to minimize the amount you need to carry to the next stop.
- Remember your cooking and hygiene needs when estimating water for a backpacking trip.
Be safe. Stay hydrated.
Title photo by: John Graham (IG: @adventuregraham)