My Cold Weather Hiking Clothes Tested on Cuyamaca and Stonewall Peaks in the Snow
Introduction
Over the last couple of years, I have been putting together an effective system of cold-weather hiking clothes. I designed my clothing system for three-season use. Later this year, I’m planning to hike the JMT. As a result, I am preparing for the unpredictable nature of the weather high up in the Sierra Nevada Mountains. There is always the possibility of getting caught in a snowstorm, despite our plan to start hiking the JMT in July. So, testing my clothing system now will ensure my comfort and safety later. It’s a work in progress that continues to evolve as I gain more experience.
RELATED: Cuyamaca Peak Trail Hike via Lookout Road
I spent my winters as a kid in San Diego surfing rather than skiing, snowboarding, or having snowball fights. Aside from a few unexpected encounters over the years, my experience with snow is practically none. That’s something I’d like to change.
We’re expecting an El Nino this winter. So, it will be the perfect time to get my system of cold-weather hiking clothes dialed in.
I started checking weather forecasts for the local mountains as winter began to set in. The perfect opportunity to test my clothing system finally presented itself last week. As luck would have it, El Nino was sending a storm my way. And Cuyamaca Rancho State Park was expecting up to a foot of snow.
I waited anxiously as the storm rolled through, checking the forecasts daily until I saw my window of opportunity. When the storm broke, I packed up my gear and headed for Cuyamaca to test my cold-weather hiking clothes.
My Cold Weather Hiking Clothes
Gloves
Glove liners: REI Grip Gloves
Gloves: Outdoor Research Backstop Sensor
Feet
Socks: Army Surplus boot length wool blend (two pairs)
Shoes: Vasque Mindbender trail running
Base Layer
Top: Stoic 1/4 Zip Alpine Merino 150 Bliss
Bottoms: Patagonia Capilene Thermal Weight
Outer Layer
Pants: Convertible trekking
Top: The North Face Texture Cap Rock Fleece 1/4 Zip Pullover
Hat: Fleece beanie
Optional Layers (carried in a pack)
Insulation: The North Face insulated puffer jacket
Softshell: Marmot windbreaker
Arriving at Cuyamaca Peak
Upon arriving in Cuyamaca Rancho State Park, I pulled into the Paso Picacho campground and parked near the picnic area. I changed out of my street clothes and into my hiking clothes, then headed south toward the trail for Cuyamaca Peak.
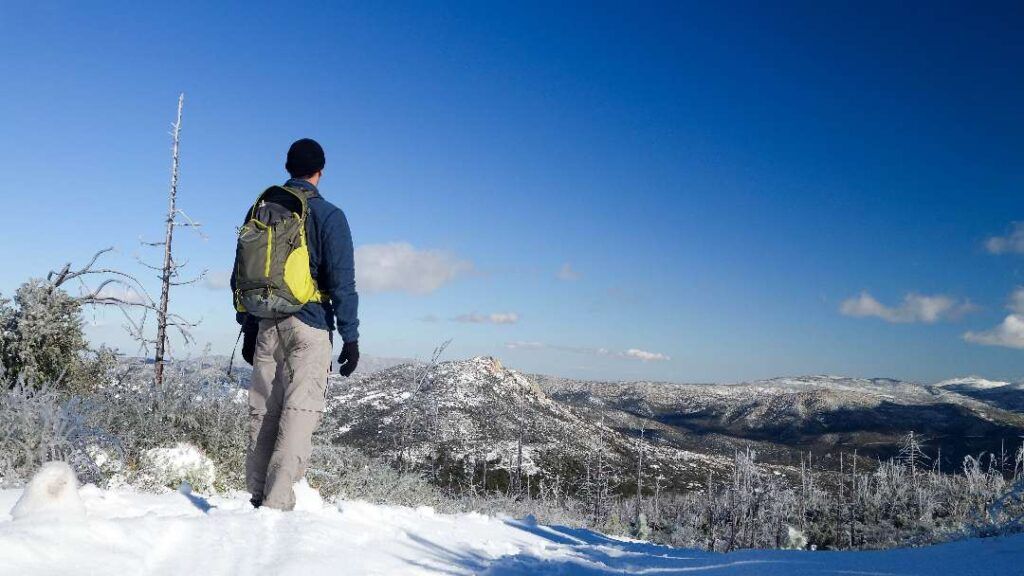
With a peak elevation of 6512 feet, Cuyamaca Peak currently holds the top spot on the Sierra Club’s 100 Peaks List of San Diego County. It is also the second-highest peak, behind Hot Springs Mountain (6535 feet), in the county and offers a panoramic 360-degree view that extends up to 100 miles in all directions.
It was cold out, in the mid to high 30s near the campground. I knew that it would get colder as I neared the summit of Cuyamaca Peak. And, the wind was blowing up there, which added another level of complexity. I prepared by packing an insulation layer and a soft shell windbreaker.
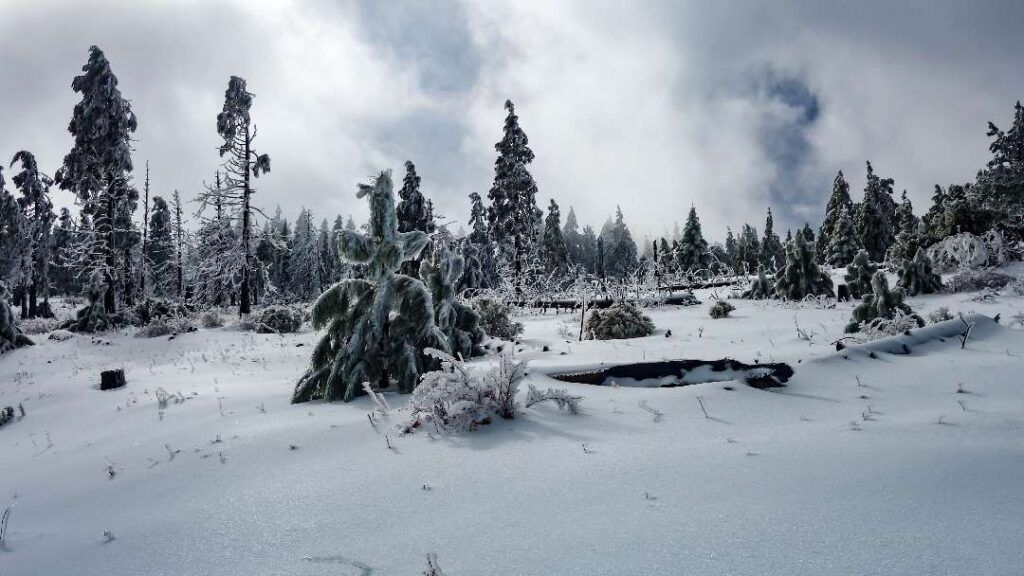
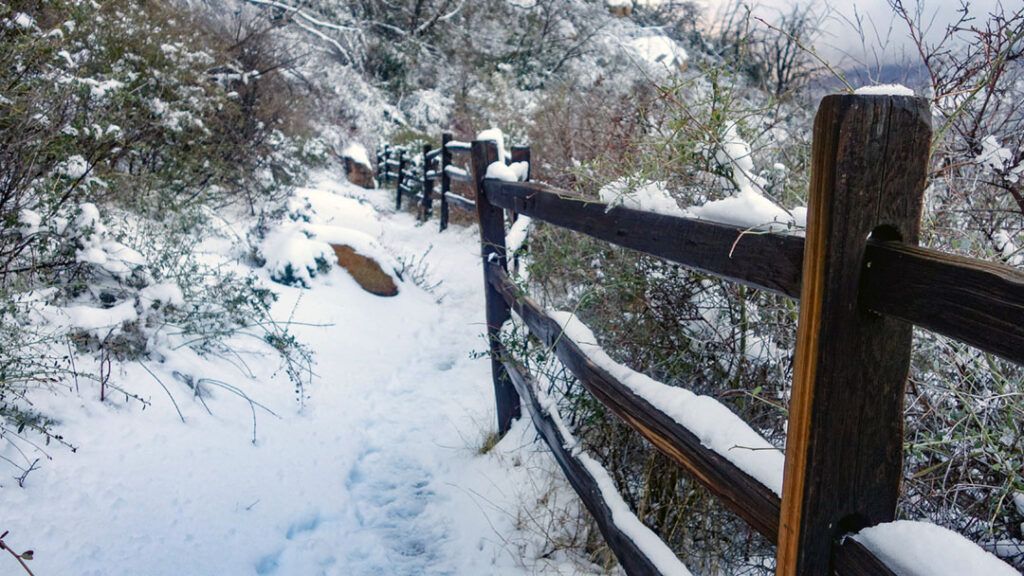
The trail is just a paved, single-lane fire road that winds its way up the northern face of the mountain to the summit. On an average day, the hike would be pretty unremarkable. But with up to 10 inches of snow cover, it was no less than spectacular!

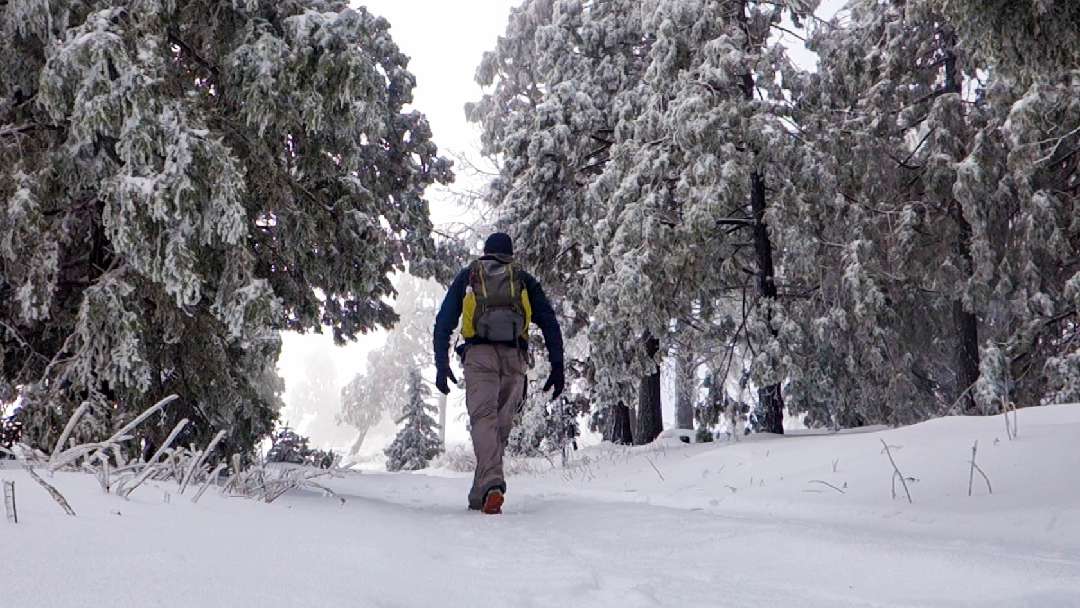
Setting Out for Cuyamaca Peak
As I set out, there was only one set of footprints in front of mine. With intimidatingly dark and stormy clouds still looming over the summit, it was nice to know that I wouldn’t be alone on the mountain. It was also nice to know that I practically had the trail to myself.
The climb up was steady and steep, and despite the snow cover, the trail was easy to follow. I stopped occasionally to catch my breath and to take in the increasingly expansive view of the surrounding countryside.
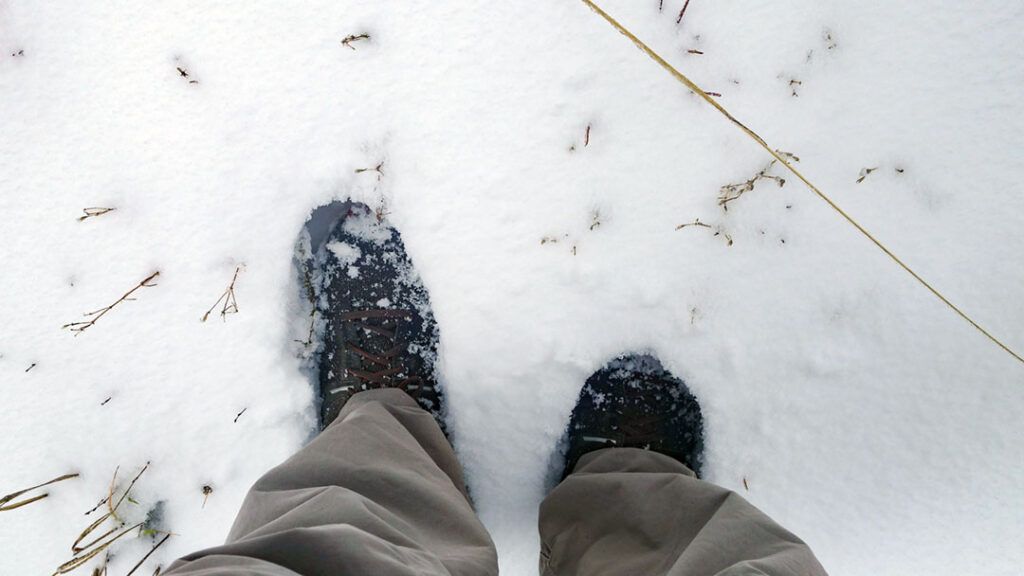
On the trail, the snow cover was no more than about 3-4 inches deep. I did my best to step in the tracks of the hiker ahead of me, which helped to keep my feet dry inside the trail running shoes I was wearing.
If you’re wondering why I have chosen to forego hiking boots for lightweight trail running shoes, even when hiking in light snow, take a look at, “5 Reasons to Ditch Your Hiking Boots” by Dave Collins. In the article, Dave explains the top reasons why lightweight backpackers are making the switch. To sum it up, trail runners are lighter, easier on your feet, and don’t hold onto water the way traditional hiking shoes or boots will.
The snow was shallow enough that the soles of the shoes were able to effectively insulate my feet from the cold, while the uppers managed moisture and kept my feet dry. The wool socks and running shoe combination I had chosen was surprisingly well-suited to this hike. Only later, after more than 6 miles of hiking in the snow and stepping in a mushy ice puddle, would the combo start to fail.
Managing My Layers, and My Comfort
I quickly warmed up as the climb continued. Even with the zippers pulled down on both my fleece and base layer tops, I was sweating. So I slowed my pace and stopped more often to keep the sweating to a minimum and to give my clothes a quick minute to dissipate some heat and moisture.
I could have managed comfortably in my base layer top alone. The fleece shirt was overkill for the amount of work I was doing, but I carried on knowing that at any point I could remove it if the sweat got out of hand.
The thermal bottoms I was wearing were also too heavy for the active portions of my hike. I would have been much more comfortable in a lighter pair of thermals, or possibly even just some running tights. Despite the sweating, they did a remarkable job of wicking the moisture away from my body.
Overall, I was staying much drier than I would have expected considering how much I was sweating.
As for my hands, they tend to get chilled very quickly, even when I’m working hard. So for most of the hike, I was wearing both the liners and the over gloves.
The combination I used of liners and outer gloves performed well while I was hiking, but my fingers would quickly chill if I stopped for longer than a few minutes. They also did a fair job of dissipating moisture, so my hands managed to stay relatively dry for the duration of the hike.
Hiking To the Summit and Back
Approximately three-quarters of the way up to the summit, the temperature started to drop rapidly. It was a welcome change, and I immediately started feeling more comfortable.
I was no longer overheated and sweating, if any, was minimal. My cold-weather clothing system was working just as it should, keeping me perfectly warm and dry.
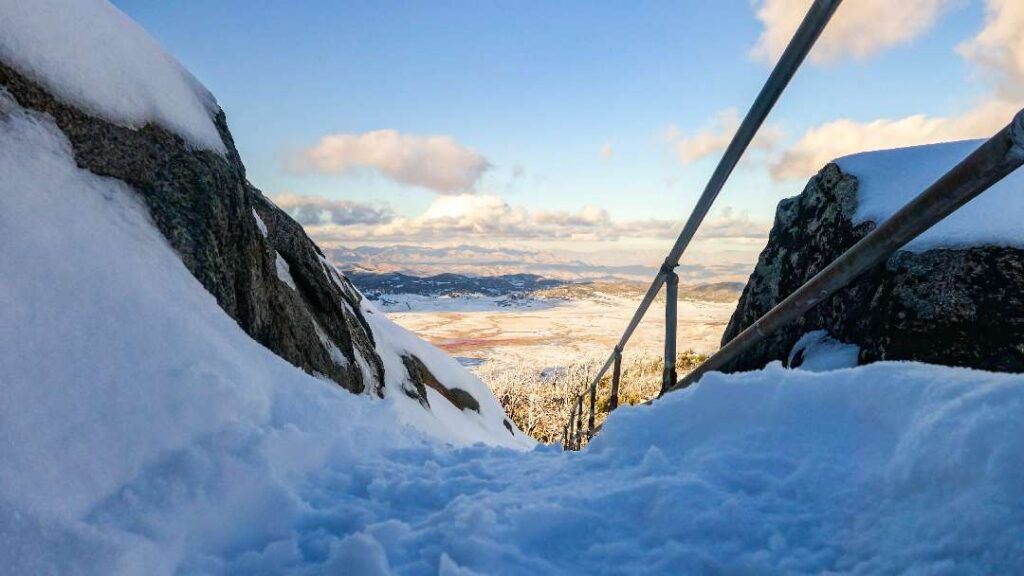
I cooled off quickly in the sub-freezing temps as I stood on the summit taking pictures. To stay warm, I did the occasional set of jumping jacks and gave my hands a few breaths of warm air.
There were about 8-10 inches of untouched fresh powder on the summit, so the tops of my shoes were starting to get wet and my toes began to chill. But as soon as I started my hike back down the hill, my feet warmed up and I was once again perfectly comfortable.
By the time I reached the parking lot, my shoes were starting to soak through and my feet were officially cold. I did spend some time going off-trail on the way down, stepping into deeper snow to take pictures. Had I not gone off trail, my shoes probably wouldn’t have soaked through and they may have proven to be more than enough for the entire hike. As it was, they performed far better than I had imagined.
My feet at this point were just starting to get damp and they were cold, but not unbearably cold, so I decided to hike up to Stonewall Peak for some more testing.
Still Good, So Off to Stonewall Peak
The lower part of the trail leading to Stonewall Peak is south-facing and had received direct sunlight all day. I could hear ice cracking and snow falling from the trees all around me. The snow on the trail was wet and starting to melt and, in places, there were small mushy puddles where hikers before me had stepped.
By the time I reached the summit, my feet were completely wet, as were the front of my pants. I was actively working to keep my toes from going numb, especially when I stopped to catch my breath or take a picture.
At this point, my trail runners had failed. But considering I had spent the last few hours hiking in snow, I was neither surprised nor disappointed. Instead, I had simply learned the extent to which I could count on a normal pair of trail running shoes when hiking in the snow.
The Results: My Cold Weather Hiking Clothes Tested
So what did I learn from all this?
Overall, my system of cold-weather hiking clothes is pretty solid for this type of hiking. With a couple of minor changes, primarily to my base layer and gloves, it will work well for a range of temperatures. By substituting a rain jacket for my windbreaker, I would be ready for snowfall and/or light to moderate winds.
Gloves
I’m still working on finding the perfect combination of gloves and liners for my hands. They get cold easily and they also produce a lot of sweat when I’m hiking. I need a glove system that will actively wick away moisture while also keeping my hands warm and dry from the outside in.
Shoes
The fact that my running shoes didn’t start to fail until late in the hike surprised me. Overall, I was pleased with how they performed and I wouldn’t hesitate to wear trail running shoes on a hike like this again in the future. Next time I will add an extra layer of socks, which should help to keep my feet warm and dry a little longer.
I will be adding gaiters to my cold-weather clothing system for future hikes. They’ll help to shed some of that snow that found its way into my shoes.
As for the puddles, there’s not much that I could do about that. But don’t take my word for it. If anyone knows what it’s like to deal with wet feet, it would be Andrew Skurka, and he has a lot to say on the subject in his article, “Why ‘waterproof’ shoes will not keep your feet dry.“
Pants
The last thing that I will do is add some waterproofing to my trekking pants. That simple change should extend the amount of time I can hike in them before they start to soak through in wet conditions like those that I found on Stonewall Peak.
Optional Layers
I never ended up using my insulation layer or windbreaker, nor did I think I would need to. Had I spent more time on the summit, the extra layers definitely would have come in handy. As it was, they weren’t needed and that was just fine with me. It’s great to know that they aren’t required for a hike like this, but that I can layer up if temperatures drop, or if I take an extended break.
Final Thoughts
My cold-weather clothing system has come a long way in the last couple of years, but it’s still far from perfect. If you have any recommendations for improvements I could make, I’d love to hear them. I’m always looking for ways to become a safer and more capable hiker.